Trail Camera Setup for Whitetail Hunters: Height, Angle, and Placement That Reveal More Deer Movement

Trail camera setup for whitetail hunters: better height, angle, and placement to catch more deer movement with less pressure.
Most trail camera problems are setup problems. A lot of hunters blame the camera way too fast.
They compare specs, buy a new unit, swap brands, mess with settings, then act surprised when they still get junk. Empty frames. Blown-out night shots. A doe parade. Raccoons. Wind pictures. Meanwhile, the buck they care about never seems to exist.
Usually, that is not a camera problem. It is a setup problem.
Bad height ruins the frame. Bad angle cuts detection time. Bad access burns the area up. Bad placement tells you almost nothing. Then hunters say deer are not there. No, the setup is just weak.
The whole point of a trail camera is simple. Learn real deer movement without changing it. Once your scent, noise, and repeated checks start adding hunting pressure, the camera starts working against you. Deer do not need much to shift. Around bedding areas, pinch points, timber edges, scrape lines, and tight travel routes, they pick up on human disturbance faster than most hunters want to admit.
Good setups show what deer already do. Bad setups make deer do something else.
Height depends on where you hunt, not on some fixed rule

On private ground, 3 to 4 feet off the ground is usually the clean starting point. That height puts the lens close to deer level and gives solid image detail. You can cover a trail, a food source, a field edge, a food plot corner, a low spot, or a timber opening without turning the frame into a mess.
That is the easy version.
Public land is different because theft changes everything. If there is a real chance somebody walks off with your camera, hang it higher. Seven to 9 feet is common. In some places, 10 feet up the tree makes more sense. Use a climbing stick, tuck the cam into cover, and angle it down. The pictures are not always perfect, but a slightly worse angle beats losing the whole camera.
Low placement still has a place, too. Around scrapes, fence gaps, tight trail crossings, and brush funnels, mounting the camera around 18 to 24 inches can work extremely well. That setup catches bucks up close and often broadside because they are squeezed through one clean opening.
So no, there is not one magic number. Height follows the spot.
Straight across the trail is one of the dumbest common mistakes

A lot of hunters still aim the camera straight across a trail and hope the deer walks through the middle like it is posing for a catalog.
Sometimes that works. A lot of times it does not. Deer move fast. Light shifts. Night range never looks as good in the woods as it did on the box. You end up with a shoulder, a back leg, or a blur.
A better move is to set the camera at about a 45-degree angle to the direction of travel. That gives the sensor more time to pick up movement and usually gives you fuller images or better video clips. Instead of a body flashing across the frame, you get more of the deer, better direction of travel, and a cleaner look at head shape, body size, and posture.
This matters even more on uneven ground. If the trail runs across a slope, set the camera on the uphill side so the lens lines up with the deer’s body. If you hang it wrong on a hill, you get trash angles fast. Over the back. Into the legs. Half the deer are missing.
Small-angle fixes matter. Hunters ignore that way too often.
And always test the thing before you leave. Walk through the frame. Check photos. Check the video. Look at what the camera actually sees, not what you assume it sees.
Placement should follow deer movement, not lazy access

Hunters love easy trees. Deer do not. A tree being convenient means nothing if the actual movement is 15 yards off where the camera is looking. Cameras need to sit where deer already want to move, not where hanging them feels simple.
Look for routes that connect feeding, bedding, and security cover. Look at how deer slip through a timber edge, cut a low spot, cross a creek, hug a river bend, or squeeze through a narrow strip between thicker cover. Those are the spots that matter.
A trail camera near a food source can help you figure out entry timing. One on a quiet trail in timber can show daytime movement that field-edge cameras miss. One on a pinch point can show how deer travel when wind direction changes or pressure picks up.
Summer is easier because deer are usually more portable. Food plots, feeding areas, and trails coming out of bedding zones are more predictable than. But even in summer, jamming cameras too deeply into the area is still a mistake. Stay on the edge when you can. Learn movement without stomping all over it. In fall, things shift. Hard.
Food changes. Cover changes. Pressure changes. Bucks stop acting like summer bucks. A setup that looked great in August can be nearly useless by October. You have to move with fresh signs, new trails, changing wind, and what the woods are telling you right now.
Not what they told you a month ago.
Using a licking branch inside the frame is often a smart little upgrade too. It gives deer a reason to pause, keeps the head in view longer, and improves both photo and video quality.
Settings matter, but only after the setup stops sucking

A lot of hunters play with settings before they even have the camera in a good location. That is backwards.
First, get the height, angle, and placement right. Then deal with settings.
Start with basic stuff people still forget. Set the correct date and time. Format the SD card before leaving the camera out. Use a card size that the camera actually handles well. Keep a spare SD card in your pack so you are not fumbling around longer than needed during checks.
Photo mode is usually enough when the goal is scouting inventory, direction, and movement frequency. Video mode gives more behaviour detail, but it also chews through batteries and fills the SD card faster. In a tight funnel or scrape setup, short video clips can be worth it. Over a broad food source, photos usually do the job. `
Sensitivity needs to match conditions. In warm weather, grass, weeds, and brush moving in the wind can trigger endless junk if sensitivity is too high. In colder weather, movement can be subtler, so balanced settings often work better. Most trail cameras give the clearest image when the deer is fairly close, roughly 3 to 5 metres. Push the target area too far out, and image quality usually drops off.
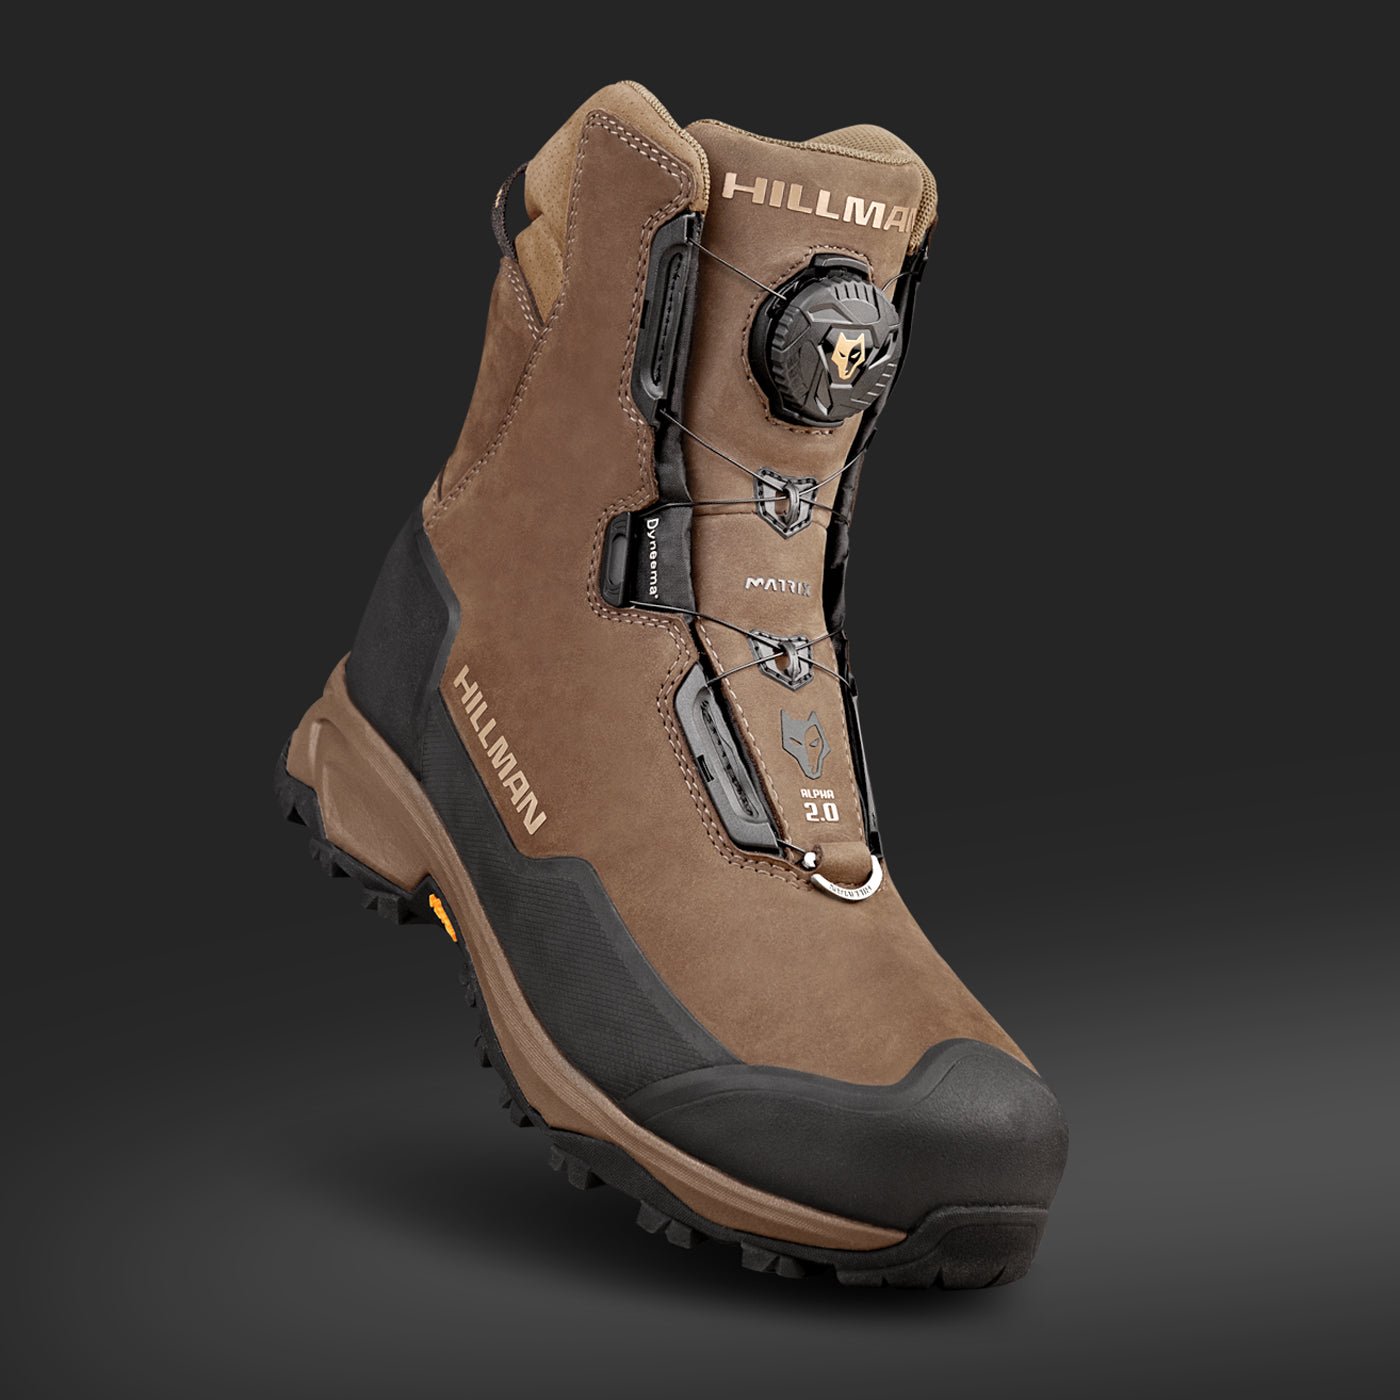
Even if the rest of your gear is dialed in with Hillman, lazy default camera settings all year still leave you with weak scouting.
Lithium batteries are usually worth it

This one gets argued way more than it should. Use lithium batteries if you can.
They last longer. They handle cold better. They stay more stable when temperatures swing. They usually help the camera keep doing its job deeper into the fall and late season when cheap batteries start falling apart.
Alkaline batteries still work, sure. But they fade faster as the temperature drops, and once that happens, you can start to see weaker performance. Slower trigger. Worse flash. Less reliability. More nonsense.
Most trail cameras run on AA batteries, and battery quality has a greater effect than many hunters realise. Weak batteries can make a solid unit act like junk. If you run cameras in remote timber, on public land, or anywhere you do not want to keep revisiting, lithium batteries are usually the smarter play.
Checking cameras too often wrecks the setup

This is where hunters sabotage themselves.
They get a good camera location, then they cannot leave it alone. They check it too often, walk the same trail too much, splash scent all over the area, and add pressure until the deer start moving differently. Then they wonder why the pattern fell apart.
That is not bad luck. That is self-inflicted.
Every camera check adds noise, ground scent, and disturbance. Mature bucks, especially, do not need much to start shifting. If the setup is near bedding or close to a stand route, repeated checks can absolutely hurt the area.
Be disciplined. Check less. Midday is often the safer window because deer activity is usually lower then. Use clean access. Use the same route when possible. Watch wind direction so you are not blowing scent into the bedding cover or travel corridor you are trying to monitor.
If the camera sits close to a hunting spot, waiting longer is often the better move. The camera is there to collect information, not to educate deer.
Weather helps explain movement, but do not get weird about it

A camera shows more than just deer. It gives context. Temperature drop, wind speed, wind direction, rain, moonlight, barometric pressure, all of it can shape movement. Not always in some dramatic, magical way, but enough to matter.
A hard temperature drop in the fall can boost activity. Strong winds can push deer into protected terrain or thicker cover. Heavy rain often slows movement or changes where deer travel. Moonlight might have some effect, but building your whole hunting plan around it is usually a stretch.
The real value is seeing how deer on your ground react. Not what some generic chart says. Review your pictures and compare them to the weather conditions. Over time, that starts to show a pattern. Not just where deer pass, but when they like moving through a certain trail, edge, feeding area, or timber pocket.
That is useful. Blindly chasing one weather factor is not.
The best camera setups feel like they are not there
That is the sweet spot. A good trail camera setup does not scream for attention. It is not shoved onto the most obvious tree at the hottest sign. It is a little off the trail, a little tucked back, at the right feet off the ground, aimed at the right angle, in the right location, with settings that make sense and a hunter patient enough to stay out.
You do not need cameras on every other tree. You need the right camera on the right tree, pointed at the right spot, checked at the right time, and left alone long enough to actually tell you something real.
That is when deer movement starts making sense.

TYLER JAMES
Tyler James spends most of his autumn walking timber edges, checking old crossings, and figuring out why deer suddenly stop using a trail that looked perfect two weeks earlier. He writes about trail camera strategy the same way he scouts: paying attention to small details that most hunters overlook until they start costing them good information.
For Hillman, Tyler tests gear during long scouting days in thick cover, wet weather, and rough terrain where comfort and durability stop being luxuries pretty fast. He’s especially interested in practical setups that stay quiet, simple, and effective once hunting pressure starts building.


Share:
Whitetail Hunting Gear for Cold Mornings, Midday Walks, Sits
Mobile Hunting Clothing for Whitetails: Long Walk-Ins Setup